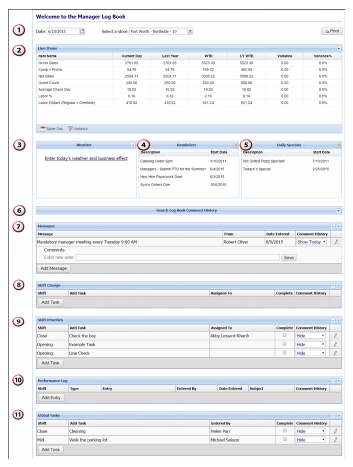
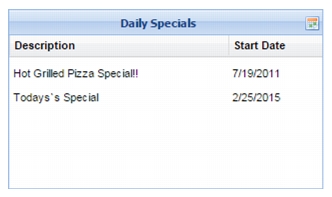
Clicking anywhere in ‘Date’ opens a calendar widget from which you can select a date in the future or past to view comments and notes. For example, you notice on your weekly sales report that a store had sales below normal one day. You can review any information entered by the store manager on that date to help determine the issue.
|
•
|
|
•
|
|
•
|
|
•
|
|
1.
|
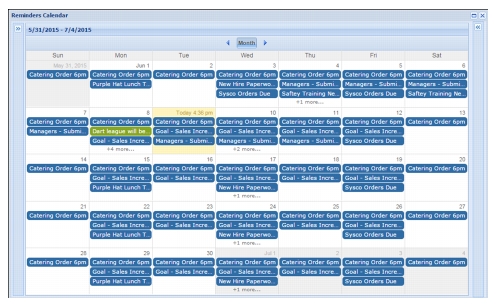
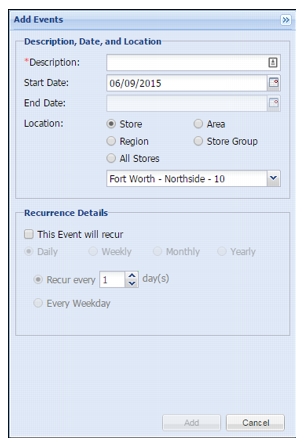
Click an empty area on a calendar day or click the double left-arrow in the top right corner of the calendar to expand the Add Events or Add Reminders section.
|
|
2.
|
Type a description.
|
|
3.
|
Type the start date.
|
|
4.
|
Select if the special or reminder will recur in the lower area of the section.
|
|
5.
|
Complete the recurrence details.
|
|
6.
|
If you select the special or reminder to recur, type an end date in the upper area of the section, or select a date from the drop-down calendar.
|
|
7.
|
Click Save.
|
|
1.
|
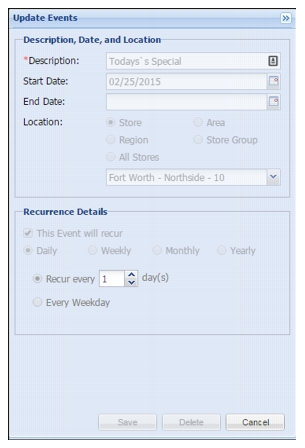
Click a special or reminder on a specific date on the calendar, or click the double left-arrow in the top right corner of the calendar to expand the Update Events or Update Reminders section.
|
|
2.
|
Edit the description of the special, if needed.
|
|
3.
|
Type a new start date, if needed, or select from the drop-down calendar.
|
|
4.
|
Select if the edited special or reminder will recur.
|
|
5.
|
Complete the recurrence details.
|
|
6.
|
If you select the special to recur, type an end date in the upper area of the section, or select a date from the drop-down calendar.
|
|
7.
|
Click Save.
|

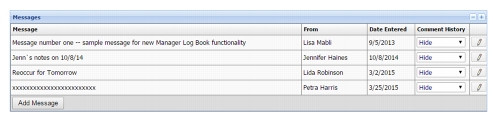
Use the Messages section of the Manager Log Book to communicate with your corporate managers or other store managers. Depending on your security rights you can edit messages made by other employees. You must have this security right assigned to you. Once you enter a message you cannot delete the message. Do not type any message that you would not share with all your managers or supervisors.
|
1.
|
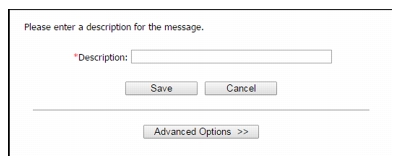
Click Add Message at the bottom of the section.
|
|
2.
|
Type the message in Description.
|
|
3.
|
|
4.
|
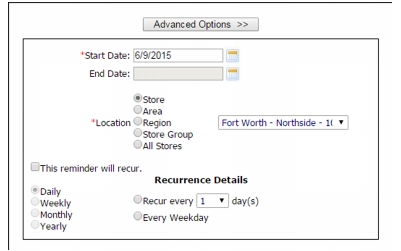
Type a start date, if needed, or select from the drop-down calendar.
|
|
5.
|
|
6.
|
Select the appropriate location from the drop-down list.
|
|
7.
|
Select if the message will recur.
|
|
8.
|
Complete any recurrence details about the message. For example, you can enter a message that recurs every day during the defined period.
|
|
9.
|
If you select the message to recur, type an end date or select a date from the drop-down calendar.
|
|
10.
|
Click Save.
|

|
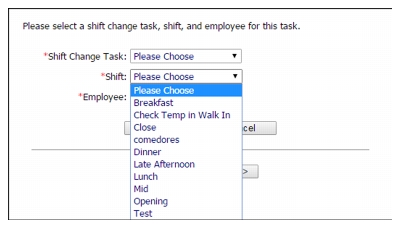
1.
|
Click Add Task.
|
|
2.
|
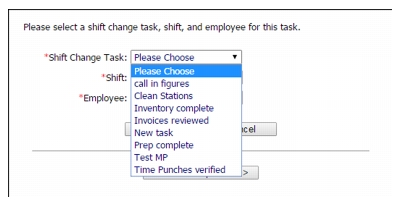
Select a task from the drop-down list.
|
|
3.
|
Click Advanced Options.
|
|
4.
|
Type a start date for the task.
|
|
5.
|
|
6.
|
Select if the task will recur.
|
|
7.
|
If the task will recur, type an end date.
|
|
8.
|
Select the shift to which the task applies from the drop-down list.
|
|
9.
|
Select the employee from the drop-down list. This enables you to assign a task to a specific employee.
|
|
10.
|
Click Save.
|
|
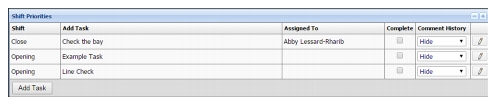
1.
|
Click Add Task.
|

|
2.
|
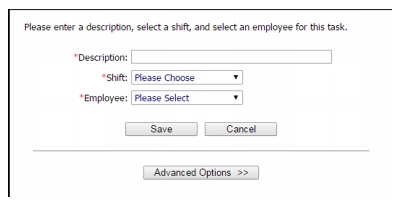
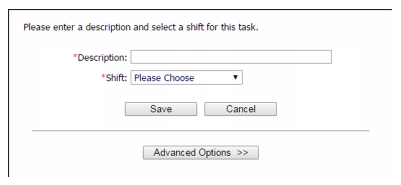
Type a description.
|
|
3.
|
Select the shift from the drop-down list.
|
|
4.
|
Select an employee from the drop-down list, to assign a task to a specific employee.
|
|
5.
|
Click Advanced Options to add location and recurrence details, if desired.
|
|
6.
|
Enter a start date, if needed, or select from the drop-down calendar.
|
|
7.
|
|
8.
|
Select the appropriate location from the drop-down list.
|
|
9.
|
Select if the task will recur.
|
|
10.
|
If the task will recur, type an end date or select a date from the drop-down calendar.
|
|
11.
|
Click Save.
|
|
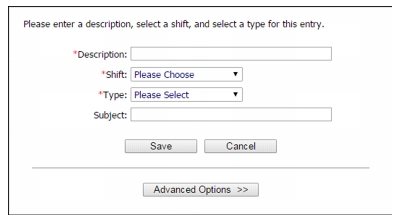
1.
|
Click Add Entry.
|
|
2.
|
Type a description.
|
|
3.
|
Select the shift to which the comment applies from the drop-down list.
|
|
4.
|
Select the type from the drop-down list of available types configured on the Manager Log Book Configuration screen.
|
|
5.
|
Type a subject.
|
|
6.
|
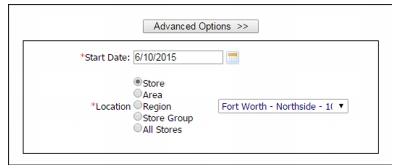
Click Advanced Options. The advanced options for the performance log differ slightly from advanced options for other sections.
|
|
7.
|
Type a date, or select a date from the drop-down calendar.
|
|
8.
|
|
9.
|
Click Save.
|

|
1.
|
Click Add Task.
|
|
2.
|
Type a description of the task in the text box.
|
|
3.
|
Click Advanced Options.
|
|
4.
|
Type a start date for the task.
|
|
5.
|
|
6.
|
Select if the task will recur.
|
|
7.
|
If the task will recur, type an end date.
|